

Hey folks!
Welcome to my first in depth instructional coloring video! THANKS SO MUCH for joining me! I'm kicking off with the Power Poppy SUNFLOWER POWER Digital Stamp. One of the cool things about digital stamps is you can make them just about any size you want so you're not limited to standard card sizes.
Welcome to my first in depth instructional coloring video! THANKS SO MUCH for joining me! I'm kicking off with the Power Poppy SUNFLOWER POWER Digital Stamp. One of the cool things about digital stamps is you can make them just about any size you want so you're not limited to standard card sizes.

You can watch the introductory video to Patreon HERE or you can head on over to PATREON and watch the full length video. You can also click the thumbnail link below to watch the introductory video.
Many of you are familiar with me as a card maker. Cards are my preferred canvas, but I thought I'd kick this off with something a little bit different, do something a wee bit bigger and a whole lotta fun. In today's video, I will share how I color in the SUNFLOWER POWER image with Copic's and Prismacolor Color Pencils.

I have my stamp sized for an 8x10 print. This way I can place it in a 11x 14 frame with an 8x10 mat. I used Adobe PHOTOSHOP to resize the image to approx 6.75" tall and just over 5" wide. I also set the opacity to 50% and the fill to 30% so I could do no line coloring.
***NOTE: Printers will vary! For my project today, I used my INKJET printer because I wanted those lines to fade back. Since I changed the opacity and the fill to a much lighter strength I knew I wouldn't have to worry about the printer ink moving under my lighter markers. If you print darker with an inkjet printer, that is a risk. Also. If you use a LASERJET printer, your lines most likely won't move with the marker, but you are more likely to see them through lighter colored markers. You can always printer lighter, just make sure you can still see your lines to color!***

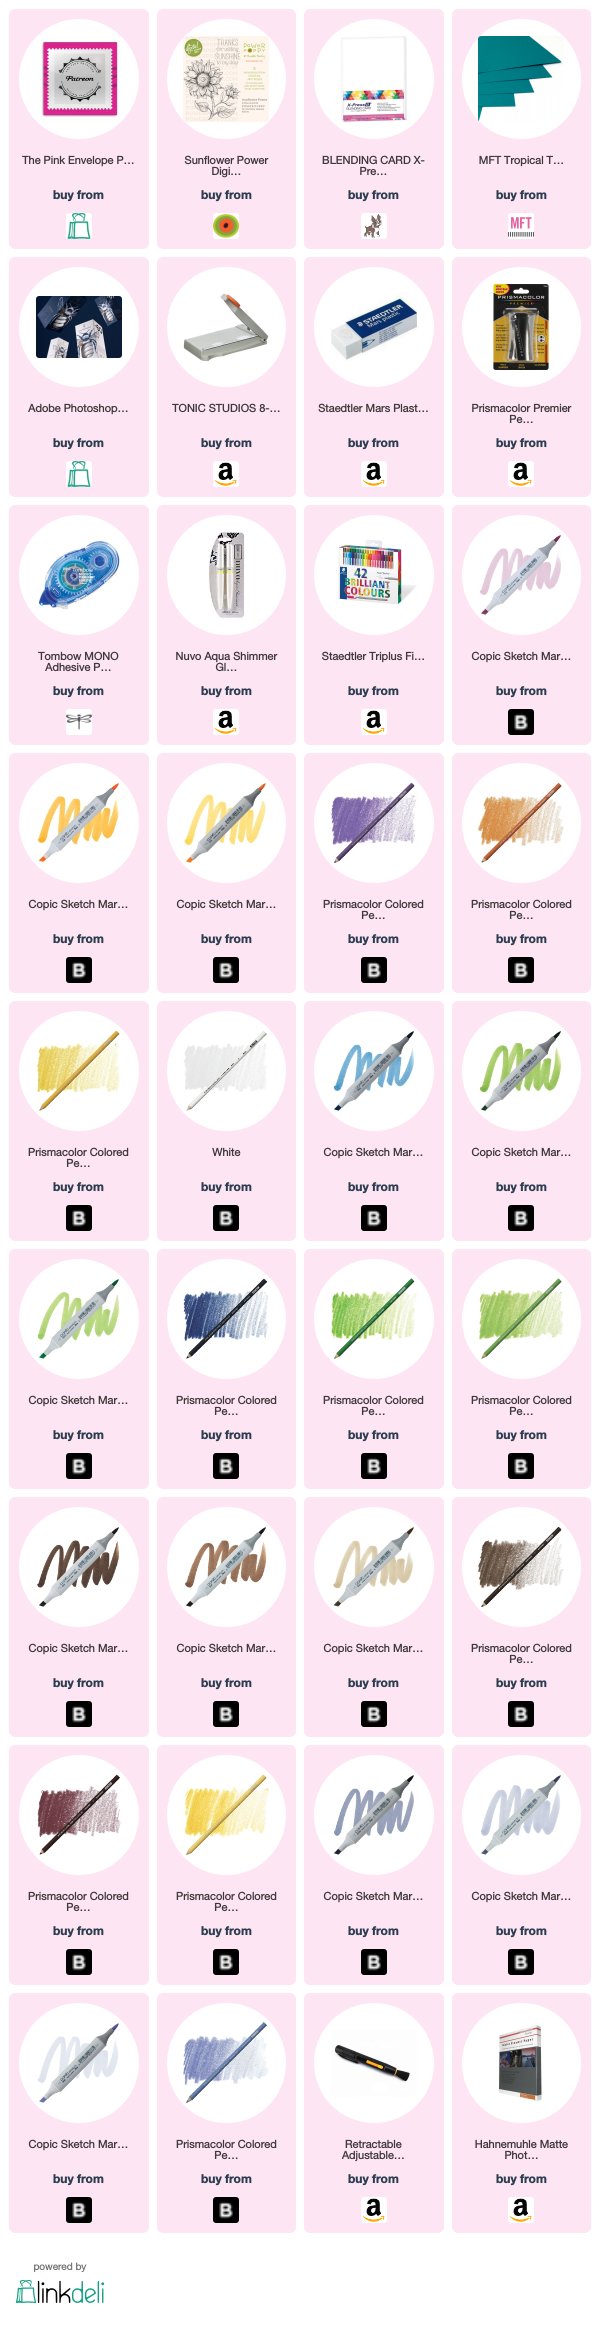
You can find clickable links down below for all of the products that I've used on todays project.

You can find clickable links down below for all of the products that I've used on todays project.
Also. I typically share a video on my YOUTUBE Channel on Friday's. Starting next week, if you've pledged to the Flate Rate Tier you will have early access on Thursday!
That's it!
I hope you enjoyed my project today! DISCOVER more projects on my Youtube Channel. Do be sure to subscribe if you haven't and also tap that notification bell so you don't miss any future videos. As always Thanks So Much for stopping by!
Until next time.
Until next time.


Cynde, this is beautiful. I just signed up on your Patreon page and look forward to your instructions. I too am a follower/student of Amy Shulke, Sandy Allnock, and Kit and Clowder. All 3 ladies offer great information for working with Copics and colored pencils. Thanks for sharing your techniques with all of us Copic "artists".
ReplyDeleteThank you Charmaine! I appreciate you! I seriously fan girl for all three of them. They are wonderful!
Delete