Hey folks!
In today's video, we're kicking off the A Blog Named Hero MONOCHROMATIC Challenge. I'm sharing how I add Copic Coloring to the Hero Arts Color Layering SEA TURTLE Stamp Set. This is a great way to add a little bit more character to any color layering stamp set and it's super easy.
In today's video, we're kicking off the A Blog Named Hero MONOCHROMATIC Challenge. I'm sharing how I add Copic Coloring to the Hero Arts Color Layering SEA TURTLE Stamp Set. This is a great way to add a little bit more character to any color layering stamp set and it's super easy.
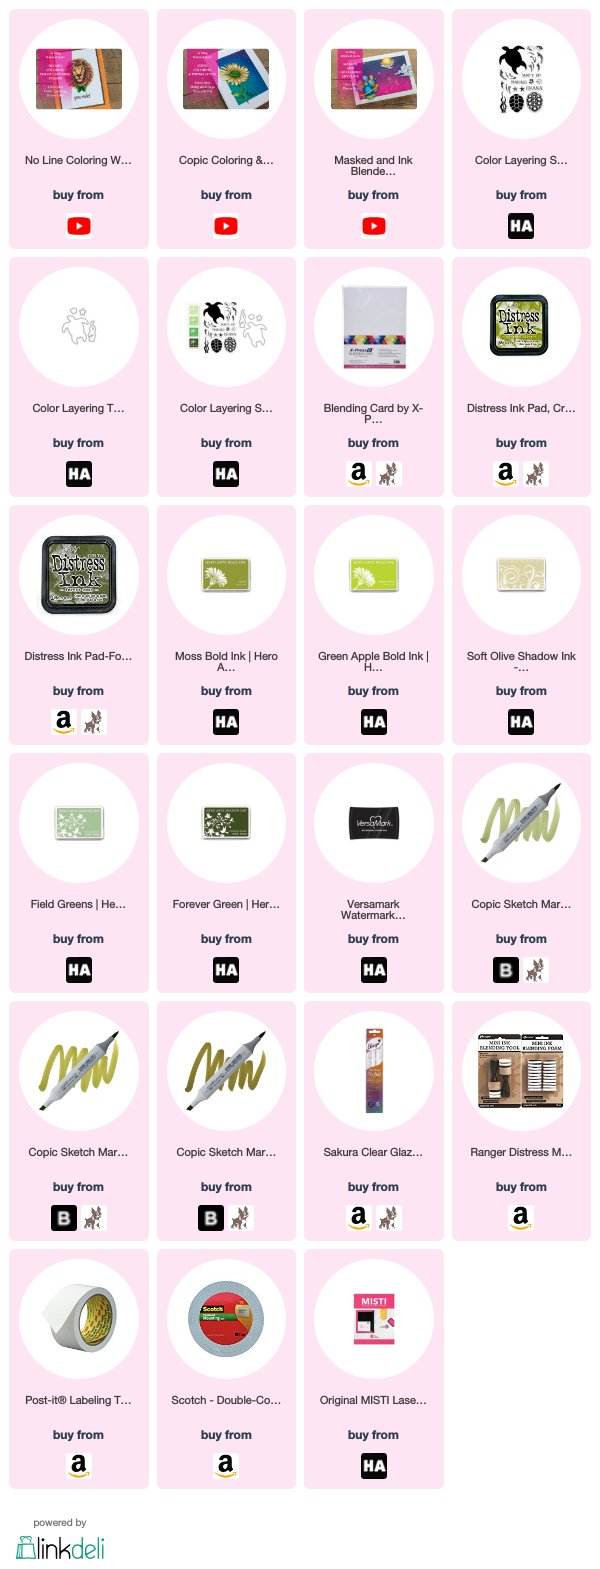
I started by masking off my card panel with labeling tape because I wanted to keep the focus to the center of the card. I used Tim Holtz Distress Inks in CRUSHED OLIVE and FOREST MOSS because I needed the reactive properties, but you could also use Hero Arts GREEN APPLE and MOSS Bold Inks.
Be sure to watch the VIDEO folks, I talk about the differences in how the inks will react if you stamp the seaweed from the stamp set with VERSAMARK Ink.
Be sure to watch the VIDEO folks, I talk about the differences in how the inks will react if you stamp the seaweed from the stamp set with VERSAMARK Ink.
I stamped the layers if the turtle with Hero Arts SOFT OLIVE, FEILD GREENS and FOREVER GREEN Inks. After I stamped the first layer, I added some shadows to the TURTLE'S head, arms and legs with YG97, YG95 and YG93.
On the second layer, I stamped the first part of his shell, but I only added the Copic shading to the outside edges of the plates on the shell. I talk more about why I do this in the VIDEO, but you basically just want to make sure you have the majority of the FOREVER GREEN still showing.
Although I was popping this guy up with some 3M FOAM Tape, I wanted to make him and the ink blending stand out a wee bit more so I added a drop shadow. Before I adhered my turtle to the panel, I place him where I wanted and lightly trace around his body with a pencil.
I chose to have the light source go from the top right only because the turtle would be facing towards the top left of the panel. To save myself a little bit of time, I didn't want to add a shadow all the way around him, plus it would probably be a little too much.
I finished off the turtle by adding some Sakura CLEAR Glaze to the FOREVER GREEN Ink on his head, arms, legs and back. I gotta be honest folks, it took a lil bit of time and quite a bit of the glaze, but I think it adds jus the right finishing touch.
That's it!
There's a few days left to participate in the MONOCHROMATIC Challenge folks! We love, love, love to see what you make and there are prizes available. Who doesn't love that?
There's a few days left to participate in the MONOCHROMATIC Challenge folks! We love, love, love to see what you make and there are prizes available. Who doesn't love that?
I hope you enjoyed my project today! DISCOVER more projects on my Youtube Channel. Do be sure to subscribe if you haven't and also tap that notification bell so you don't miss any future videos. As always Thanks So Much for stopping by!
Until next time.
If you're interested in any of the products I've used, I have links (some affiliate links) throughout and at the end of the post. Click HERE to read my full disclosure policy.


incredibly beautiful and realistic !! wow !!
ReplyDeleteThank you!!
DeleteInformative blog post on Copic coloring and stamp layering. Valuable tips and techniques for enhancing blog names. Helpful resource! !!3m foam tape!!
ReplyDelete